
How To Connect An iPad To A Smartboard (2025)
This guide covers wireless (AirPlay) and wired (HDMI) connections. Wireless is fastest for teaching; wired is most reliable when Wi-Fi is unstable.
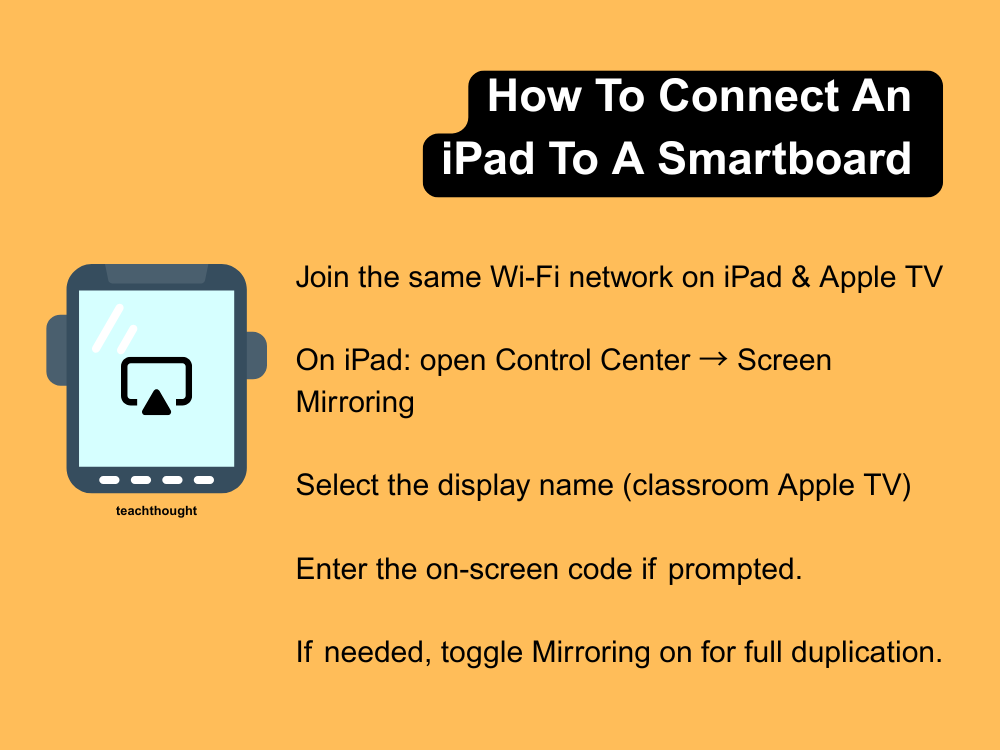
Wireless (Recommended)
AirPlay / Casting
What you need
- iPad (iPadOS 15+)
- Apple TV or AirPlay-enabled Smartboard/panel or mirroring app (Reflector / Ditto / AirServer)
- iPad + display on the same Wi-Fi
Steps
- Join the same Wi-Fi network on both devices.
- On iPad: open Control Center → Screen Mirroring.
- Select the classroom display.
- Enter the on-screen code if prompted.
- Toggle Mirroring if only a second screen appears.
Tip: For smoother performance, use 5 GHz Wi-Fi or switch to HDMI if the network is congested.
Wired (HDMI)
USB-C or Lightning → HDMI
What you need
- USB-C→HDMI or Lightning→HDMI adapter (Apple/MFi)
- HDMI cable
- (Optional) power pass-through
Steps
- Adapter → iPad.
- HDMI → adapter → Smartboard/projector.
- Select the correct HDMI input.
- Connect power if supported.
Note: Video/audio only — touch on the Smartboard will not control the iPad.
Troubleshooting
- No image: Reseat HDMI; check the input source.
- Device not found (AirPlay): Same SSID required; restart Apple TV/panel.
- No sound: Set audio output in Control Center.
- Lag: Switch to 5 GHz or wired HDMI.
See also:
Official Apple Documentation
https://support.apple.com/en-us/HT204289
Apple Support: “Use AirPlay to stream or share from your Apple devices.” (Verified Oct 2025)