
A Beginner’s Guide To Creating An Online Course
The COVID-19 pandemic forced teachers around the world who have spent their entire careers in the classroom to shift (often with only a few days’ notice) to delivering instruction online. If you are a teacher or a faculty member who has to move into the world of online instruction, you may be encountering course authoring for the first time.
Curious to learn how to create online courses fast and hassle free? We’ll get you up and running in no time with these simple steps:
Step 1: Define the topic
Consider the context of the average students who will complete your course. What is their familiarity with the topic? How motivated are they to complete this course? How will they need to use this knowledge after instruction? With your learners’ basic demographics in mind, narrow the focus of your course down to a few specific, measurable learning objectives.
One recommended approach is to consider each online course you create as being similar in size and scope to a single lesson that would have been taught in a classroom. The content from a semester of instruction probably can’t be whittled down to fit into a single eLearning course, but you can build a program of courses where each one teaches a single idea, and the program as a whole covers a semester’s worth of content.
Step 2: Collect all necessary content
Creating an online course is a truly creative process, and it takes time to bring together all the pieces that will make up the course. Once you have identified your learning objectives, the work of writing content and choosing the related media such as photos and videos that will be used throughout your course begins.
If you are adapting content that has been used for virtual or in-person lectures, start with any preexisting content your school has on this topic, such as presentation slides, articles, and textbooks. Review these materials for information that is relevant to cite in your course. When searching for content online, make sure to use media that is not copyrighted. If you find yourself asking, “Can I use that picture?” you may want to review the usage policies and laws surrounding fair use and the public domain. Images and videos are subject to the same copyright rules as written text, so you will want to make sure you get content from approved sites and sources to use in your course.
Step 3: Create a storyboard
Once you’ve collected all the content for your course, you’ll want to weave the items together into a cohesive storyboard, which is similar to an outline. In this document, you’ll map out all the planned content, course verbiage, and describe the ways you will use the authoring tool to make the presentation interactive.
There are many ways to create a storyboard (using Microsoft Word, PowerPoint, or even a quick prototype of the course in the authoring tool). No matter which format you choose, your task is to plan out all of the content that will go into your course to support your learning objectives. Write out paragraphs of text, transition phrases, assessments, and include any relevant media, such as photos and videos. Then, review this document to ensure that all content is aligned with your learning objectives.
Storyboarding is a worthwhile investment of time before you begin developing the course in the authoring tool, as it is much faster and easier to review plans and make any changes to the content before actual course development begins. This allows you to design with confidence, empowered by the knowledge that all the content you will bring to life in the authoring tool will lead your students to accomplish their educational goals.
Step 4: Author your course
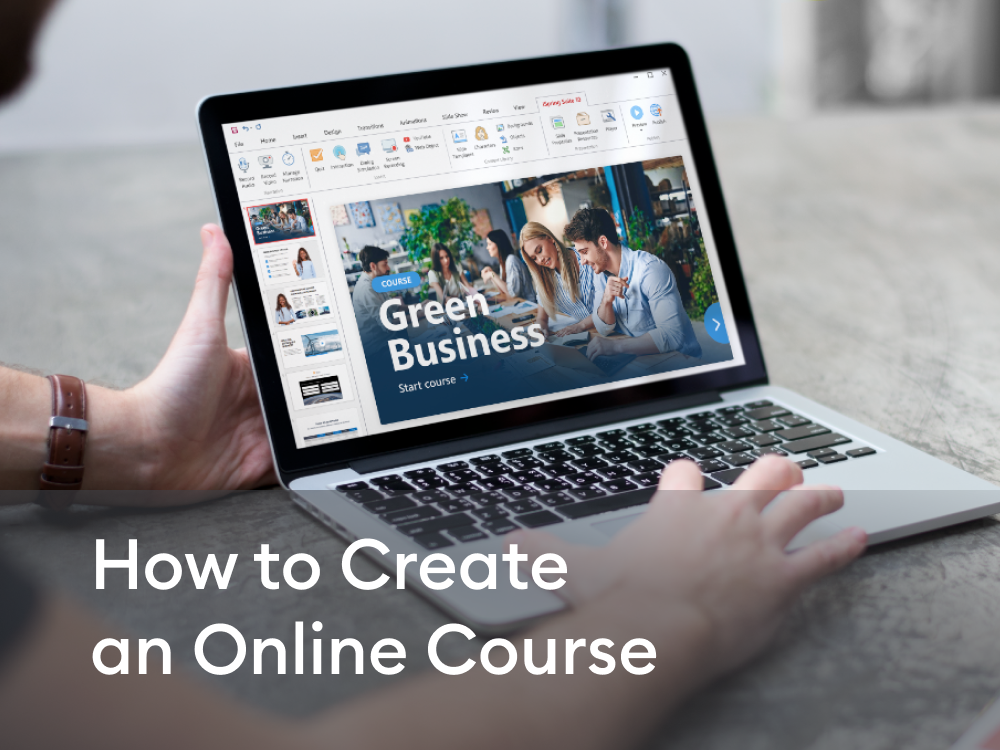
Now it’s time to bring your course to life! An authoring tool is a software program that enables you to create eLearning content and distribute it via a learning management system, or on the Web. Most authoring tools maintain a slide-based course structure – you create slides, fill them with text, images, videos, and animations. Depending on the software, you can also add quizzes, drag-and-drop activities, and simulations.
For example, with the iSpring Suite authoring tool, you can start by uploading existing PowerPoint slides as the foundation of your course, and then enhance them with special eLearning features: interactive quizzes, video lectures, and dialogue sims, to name a few. So, it’s quite powerful in terms of eLearning authoring, and at the same time, is easy to use, so you can build courses fast. Besides, many authoring tools, such as iSpring Suite, also include a library of templates, characters, and images to save you hours of design time, eliminating the need to look for the necessary media items (unless you want to!).
A slide from an online biology course created with iSpring
Get to know the features of your authoring tool, so you can make the most of all the options available to you. Educate your students using features that gamify the learning experience, give learners opportunities for realistic interactions, conversations, and simulations, and present content that meets learners’ moment of need whether it’s bite-sized microlearning or deeper dives into lengthier content.
Step 5: Conduct final reviews and share the course
Obtaining reviews and feedback on the course from your colleagues and school administrators may be useful. Each of them has their own perspective on the content and the course itself, so they can share their opinion on what they like and what they feel needs to be improved.
After you collect all feedback and make any necessary adjustments, you can share the course with your students. The most convenient way to deliver eLearning content is via a learning management system (LMS). To add your course to an LMS, you first need to export it as a SCORM package (almost all authoring tools provide this option). After you upload it to the LMS, you’ll be able to track students’ progress and results.
Final Thoughts
With a little planning, creating eLearning courses using today’s authoring tools can be a truly enjoyable and efficient way to work. Whether you are new to online course design or already have some experience in content development, we hope this guide provides some helpful orientation.
Helen is an editor and content strategist at iSpring. She enjoys combining in-depth research with expert knowledge of the eLearning industry.