What’s A Video Syllabus For Teachers?
A video syllabus is a version of your course syllabus in video form. It can be a simple slideshow or a creative framing of you, your class, and the content itself.
For the record, there’s (obviously) nothing ‘wrong’ with a PDF or printed syllabus. They’ve worked for years and will continue to for years. However, this isn’t necessarily a case of either-or. In fact, it likely makes sense for you to have both formats in addition to some kind of FAQ on your teacher website (assuming you have one).
What Are The Advantages Of A Video Syllabus?
There are some disadvantages of creating a video syllabus–namely the effort it takes to create one (depending on your vision for yours, it could be accomplished in as few as 30 minutes) and the relative difficulty (compared to a Word document, for example) of editing it.
It’s also more difficult for students to highlight, save excerpts from, mark up, etc. To reiterate, this is a kind of false dichotomy: a video syllabus can supplement a physical or digital text document. So, why should you create a video syllabus? Well, there are some benefits.
First, students love video. It’s a media form they’re comfortable with. This bit is simple–video is generally more engaging than text.
Video can also be interactive–some video actually responsive in real-time. At the very least, students can post questions in the comments, respond to one another, etc.
A video syllabus is also easy to access from almost anywhere (phone, tablet, laptop, desktop, etc.)
It can also give you a different perspective on the course you teach by shifting your focus from due dates and chronology and grading to the content itself–in this case, how to frame that content so that it engages students from the very beginning of the class.
While you can do a simple presentation ‘video,’ you can also consider making something closer to a ‘commercial’ to ‘market’ your content to students rather than a dread-inducing checklist of assignments.
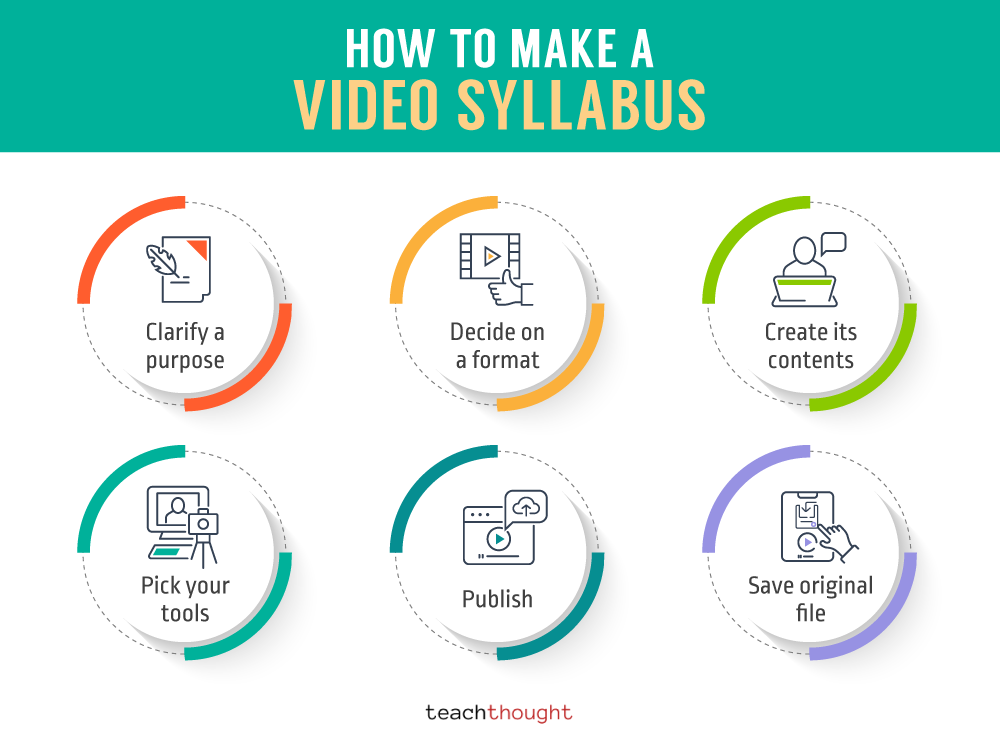
1. Clarify a purpose
What do you want the syllabus to ‘do’ and ‘be’? A checklist of due dates and assignments? An invitation to learn? A framing of the content? Something more student-centered?
Bare minimum: Something informative that makes the course seem interesting
2. Decide on a format
Presentation-based slideshow? Visual ‘explainer video’? A creative and fun video full of visuals that clarify for students how the course has been designed for them or will benefit them?
Bare minimum: A slideshow presentation with your narration as a voiceover
3. Create its contents
Here’s one, but I (surprisingly) couldn’t find many examples out there. This is 37-minutes long–a detailed explanation of the course, its assignments, etc.
The idea here is to decide (based on its purpose and format) what you should include in the video. Consider how you might create the video differently if the audience consisted of experts in the ‘real world’ versus a video for parents.
It’d likely be different again if you created one exclusively for students, and different yet again if you colleagues or PLN were the intended audience. Thinking of these differences can help you consider the different kinds of approaches and information you might include.
Bare minimum: The course title, your name and bio/background, the value of the content they’re going to learn, and any key assignments
4. Pick your tools
There are countless quality video editors available. A few I’ve used include Hitfilm Express, Shotcut, Loom, Lightworks, Adobe Premier and Adobe Spark, and Canva. There are also video editing tools like Moovly, Boosted, WeVideo, Animoto, Clipchamp, VSDC, Filmr, and Videopad.
Even video hosting platforms like Vimeo and YouTube include basic video editors that may be enough for a simple video syllabus.
Bare minimum: If you want to start small, create a simple presentation (5-minutes or less) and do a voiceover while recording your screen with Loom. You can share directly from Loom or could add to YouTube, SchoolTube, etc.
5. Publish
Decide on privacy setting, then make the video accessible to students. The aforementioned Vimeo and YouTube obviously host videos, as does Loom.
Bare minimum: Share the file from Loom or upload to a private YouTube channel.
6. Save original file
This is an important step–save the original file both locally (on your device) and on the video editing platform itself if that’s possible. This will make it easier to revise it each semester or copy it as a kind of template for other classes you teach now or might in the future.
More Tips On How To Make A Video Syllabus For Your Classroom
Start small
Use the strengths of video–visuals, music, voice, effects, etc.
Keep it short and sweet–or don’t. Just be intentional based on your stated purpose and format.
Decide if you’re going to allow comments?
Consider privacy–yours, your school’s, and that of your students’ if the video is made public and they interact with it in a public/social space.